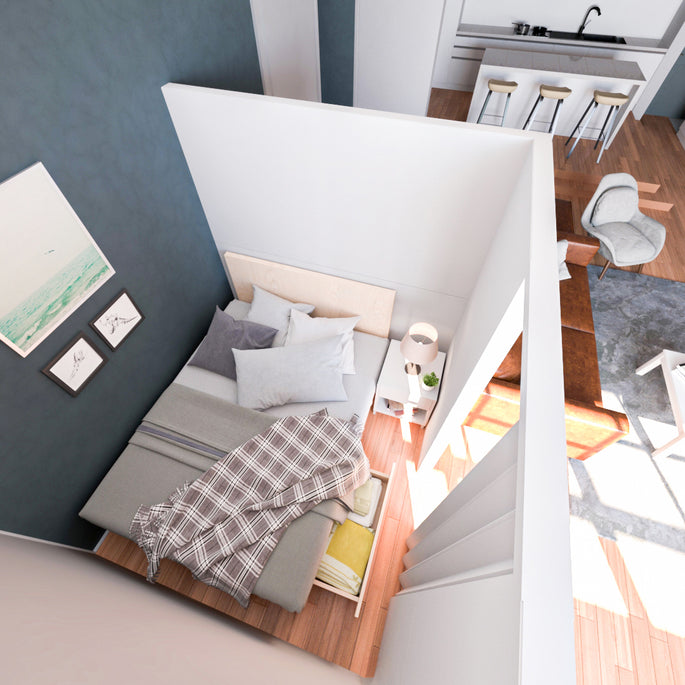
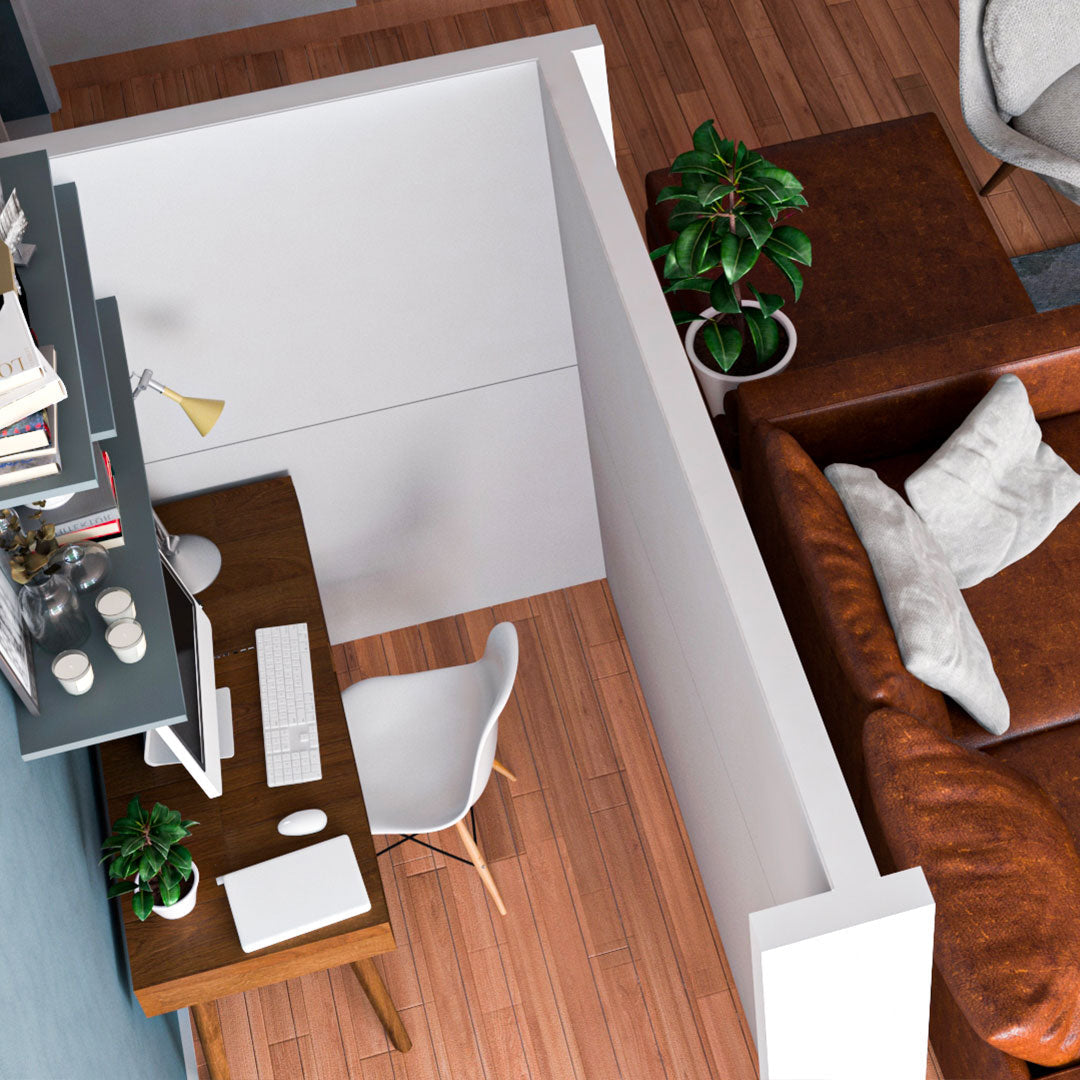
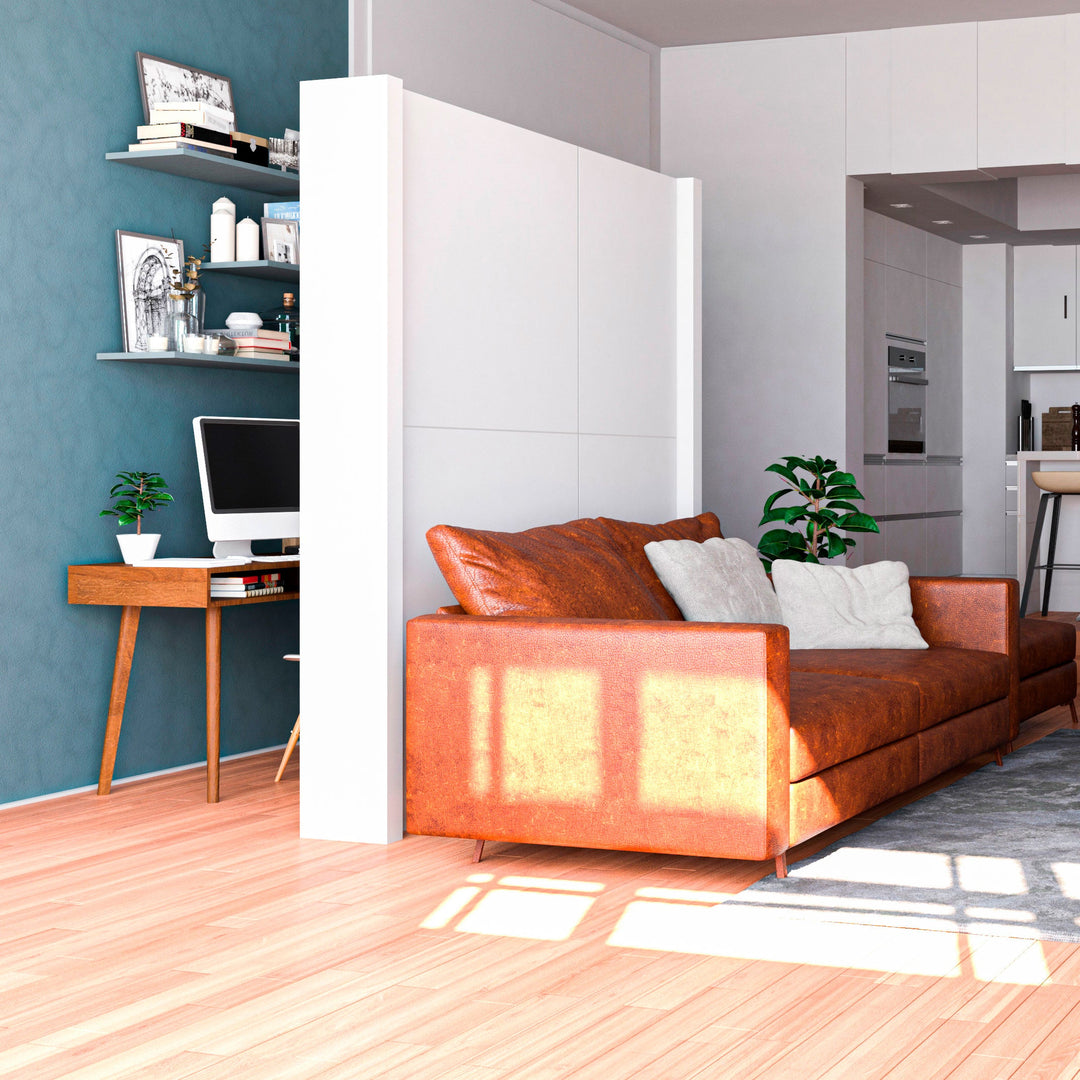
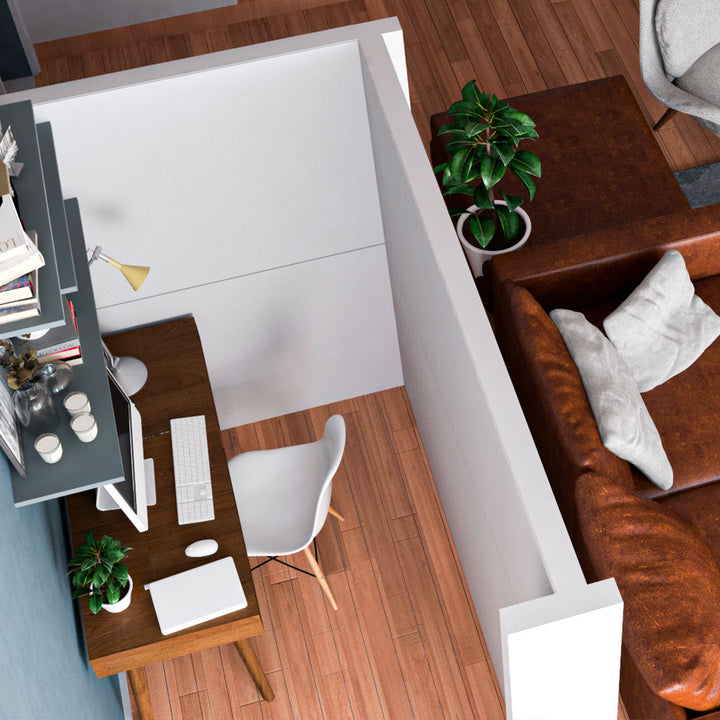
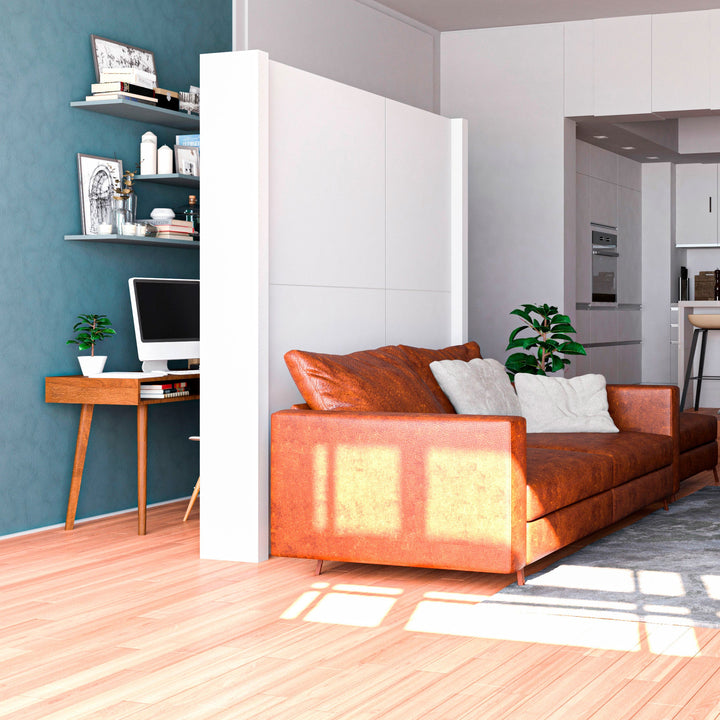
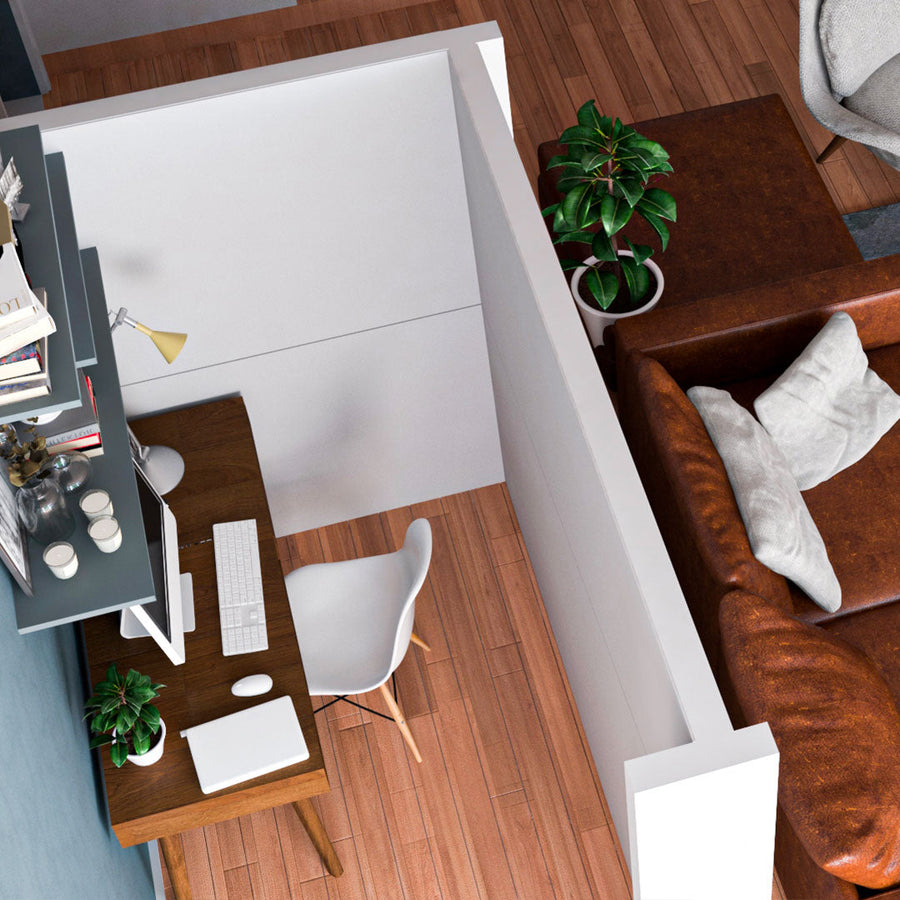
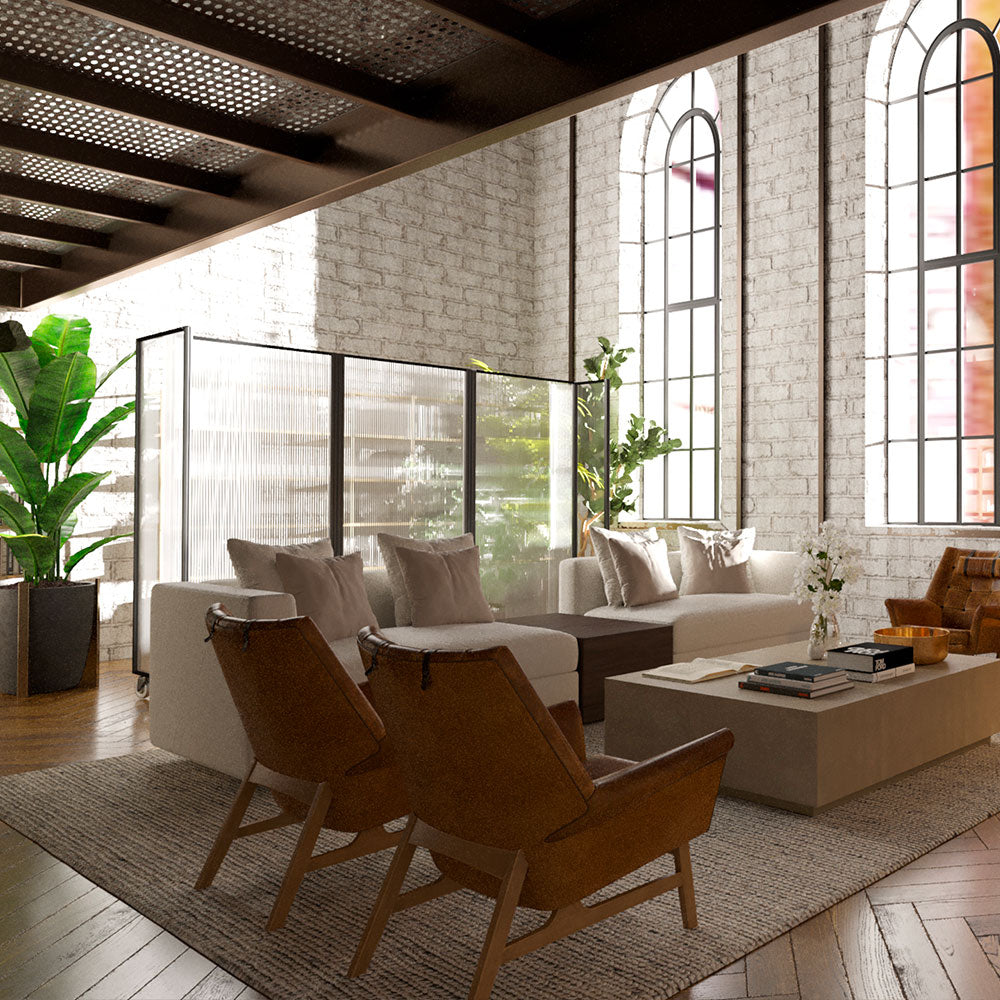
The fastest and easiest way to create an L-shaped partition in any home, office, or business environment. Ideal for carving out spaces for work, relaxation, or study, this divider makes it simple to organize your space effectively and economically.
Experience unparalleled flexibility with our modular design that can be effortlessly relocated, repurposed, and reconfigured to match your evolving needs. Say goodbye to static, immovable partitions and embrace dynamic space solutions that grow and change with you.
Choosing the right size is the most important step in ensuring a seamless integration of our partitions into your space. Follow these simple guidelines for the best results:
1. Measure Your Ceiling Height: It's essential to measure your ceiling height before making your purchase. Make sure it's at least 2" higher than your desired partition. For instance, for an 8' partition, an 8'2" ceiling height is ideal. This provides ample space for assembly and installation.
2. Check Your Floor: Ensure your floor is level, as any unevenness—like dips or bulges—could affect the setup.
The following measurements are only necessary for mounted straight walls and T-shaped wall kits:
3. Wall-to-Wall Width: The included wall mounting brackets measure 3"x3", allowing you about 2" of wiggle room (1" on each side) when determining your wall width.
For context, if you're considering a 138" wall kit, your space's wall-to-wall width should fall between 138"-140".
4. Floor Width: Ensure the width of your room along the floor, from the inside of one baseboard to the other, matches or exceeds the width of the wall kit you're thinking of purchasing.
As an example, for a 138" wall kit, your baseboard-to-baseboard span should be at least 138".
Please make sure you double-check your measurements to ensure a seamless fit. If you ever encounter challenges, our team is here to assist and guide you, but getting the right size is essential for an easy installation
Not sure about your measurements? Don’t find the size you need? Contact us, and our team will help you find a custom configuration that works for your space!
Wall Panels
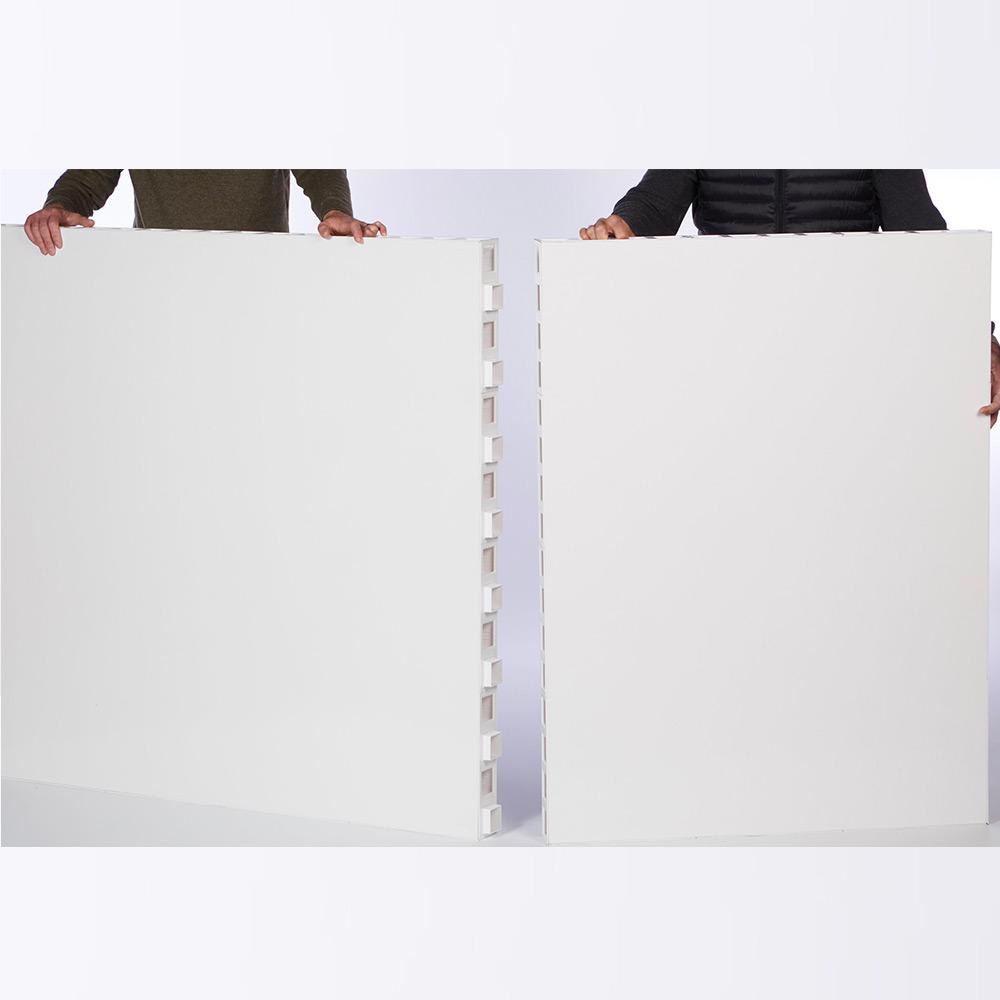
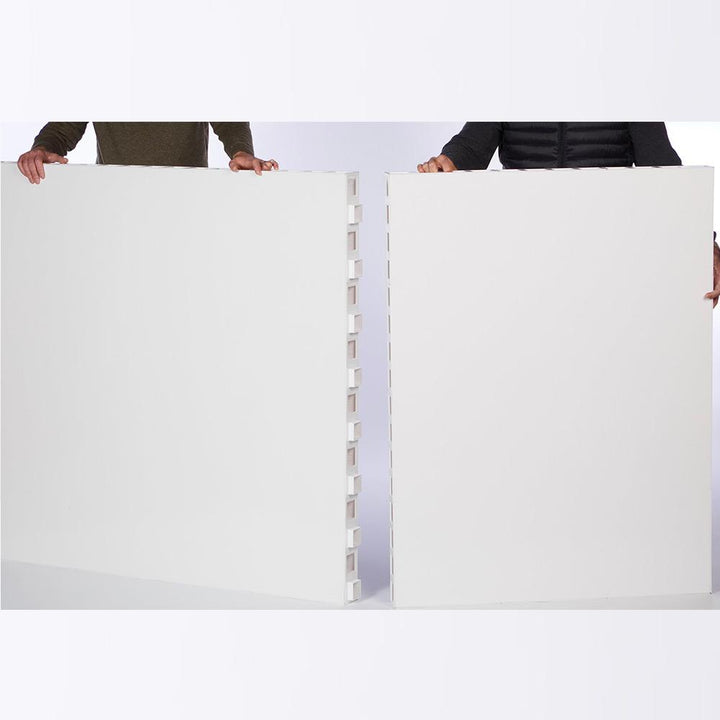
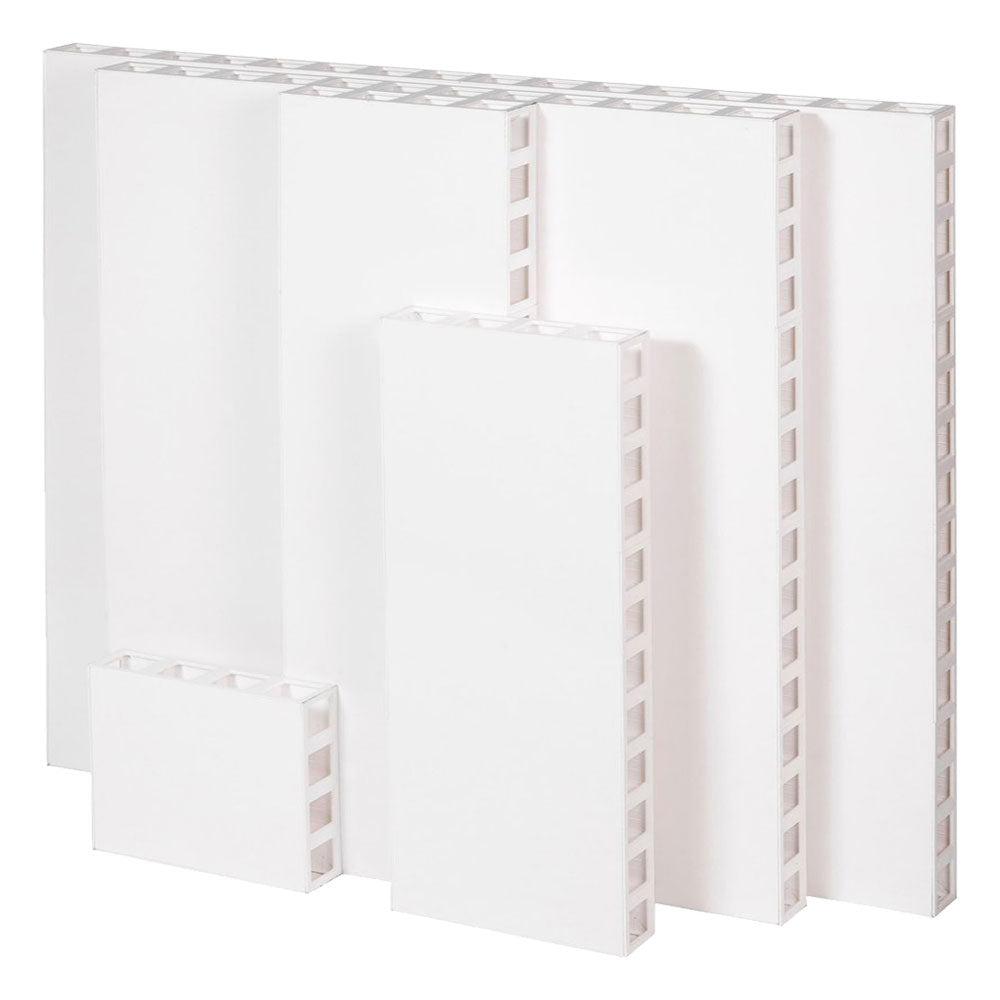
3" thick wall panels crafted from Moisture and Impact Resistant Fiberglass. These panels are not only lightweight and sound-absorbing but also simple to maintain and clean. Assembly is straightforward, with panels snapping together using lug connectors, ensuring a stable and secure fit.
Anchor Panels
Anchor panels are employed at the exposed end(s) of your wall to ensure maximum stability. These panels measure 12" in width. Easily affix them to the primary structure of your wall using 2-Way Connectors. For walls with a width of 9'6" or more, 24" wide anchor panels are provided to guarantee enhanced stability.
Lug and Two-Way Connectors
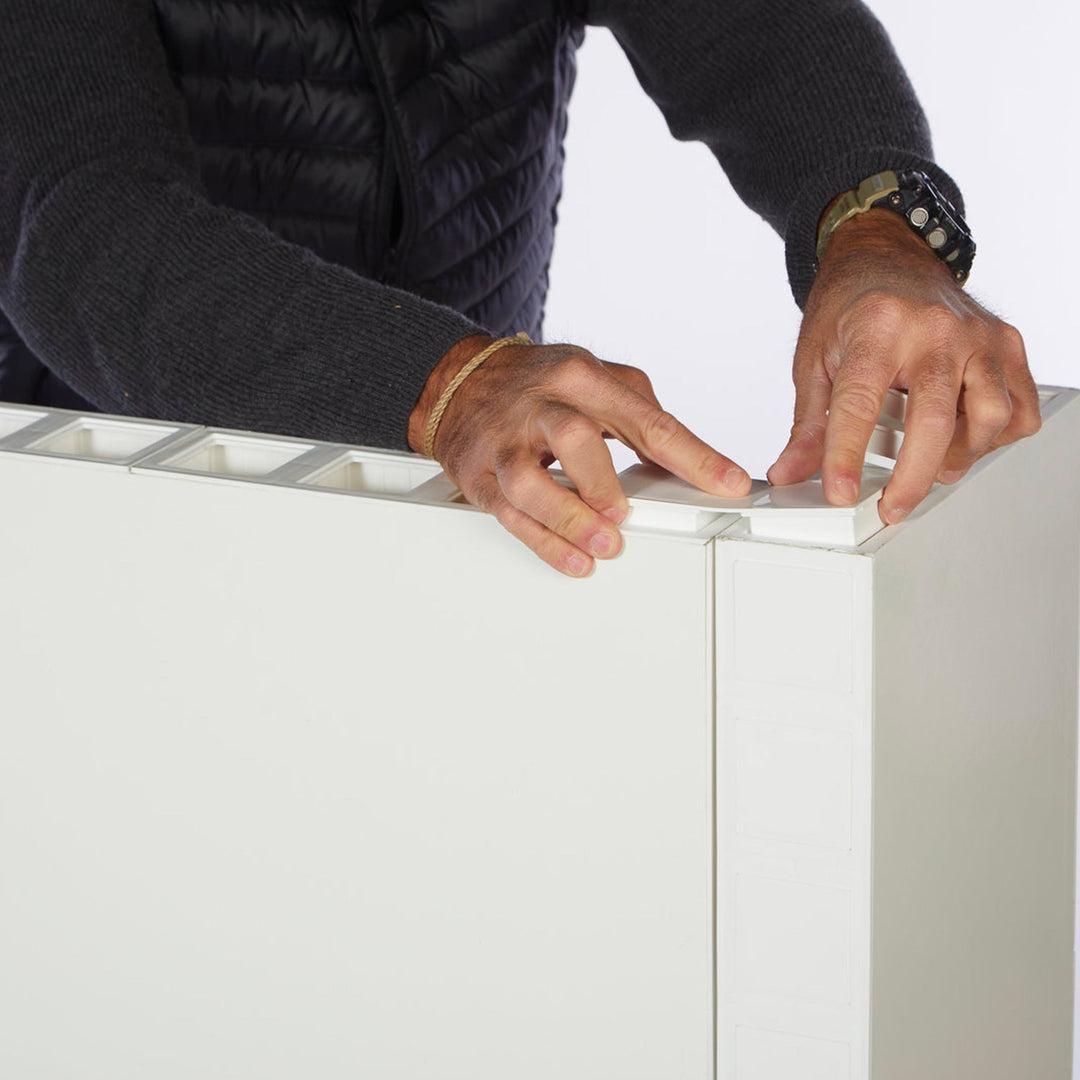
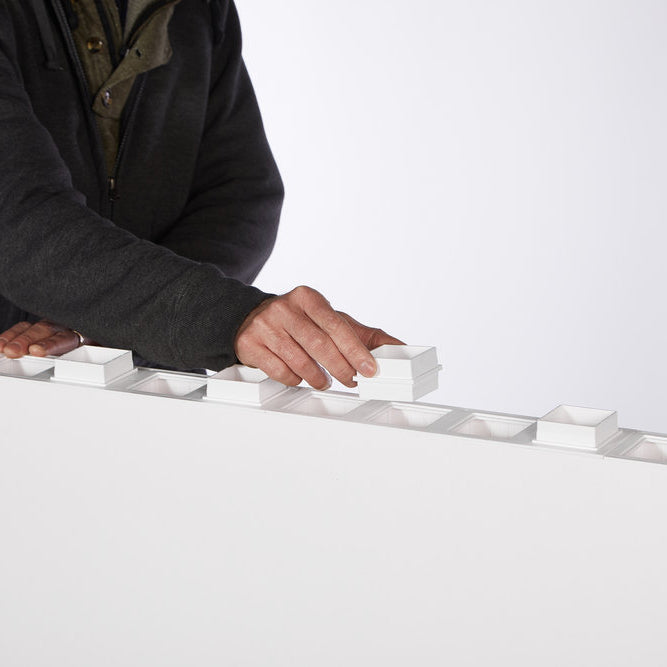
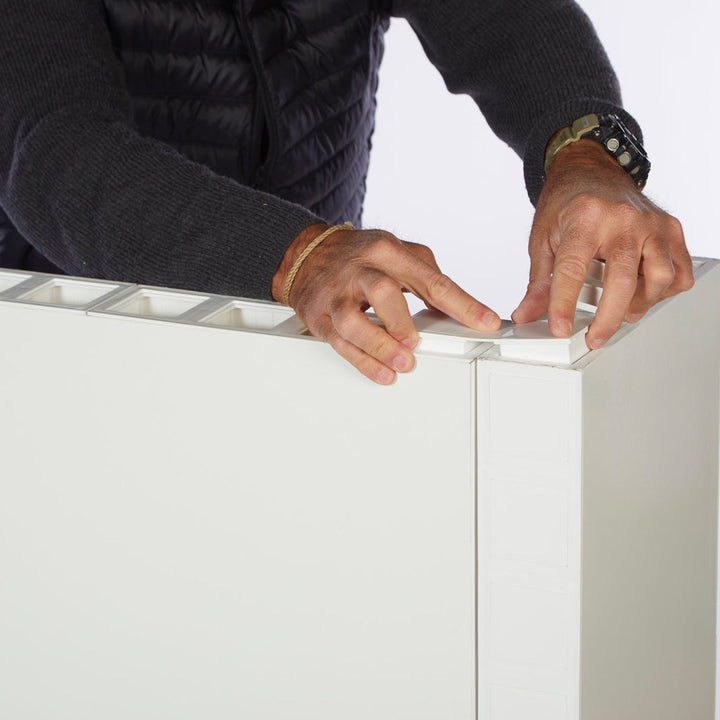
Included in your kit are two-way connectors and panel lug connectors. The two-way connectors interlock panels securely at the corners, while the panel lug connectors are essential for fastening stacked panels, ensuring stability from top to bottom.
Finishing Caps
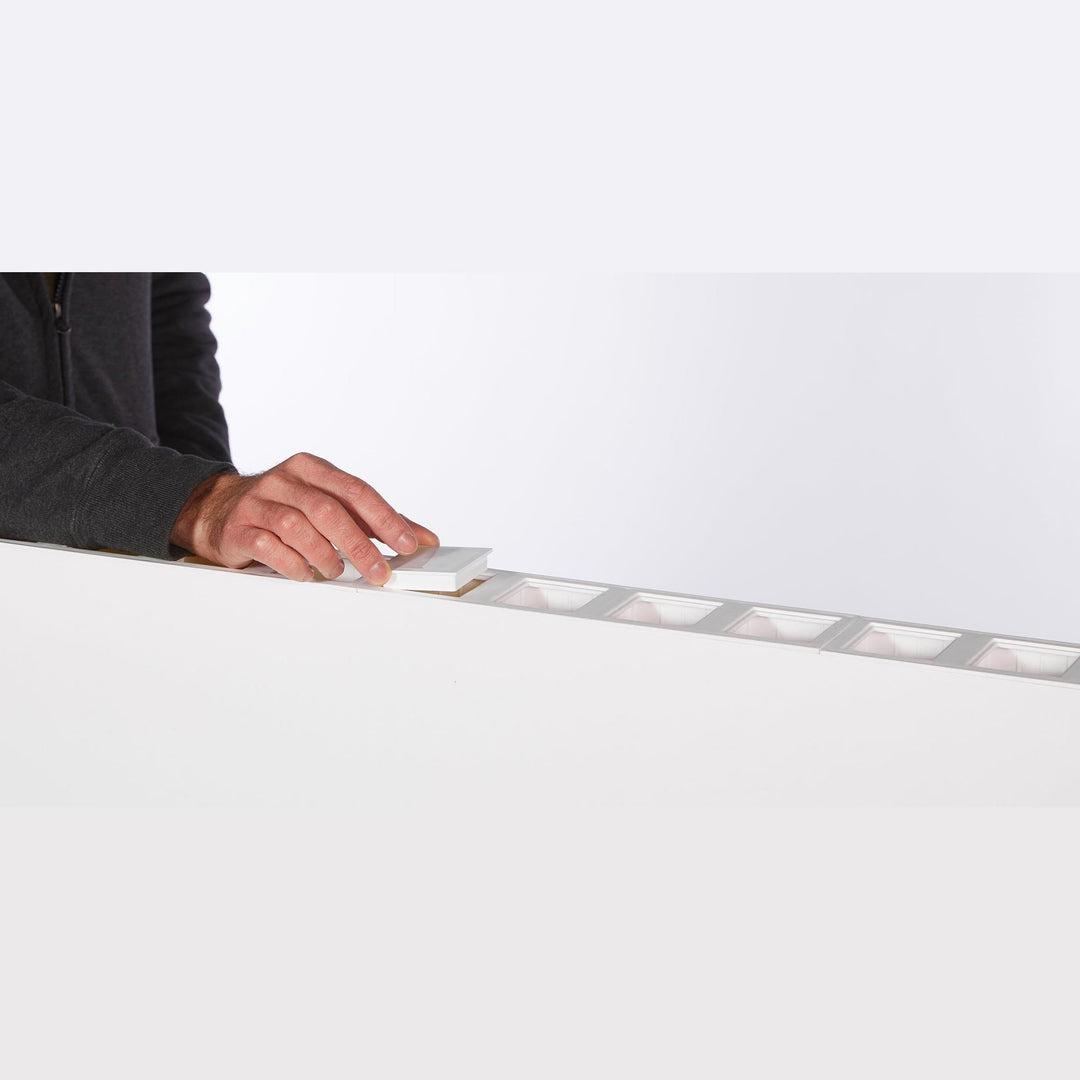
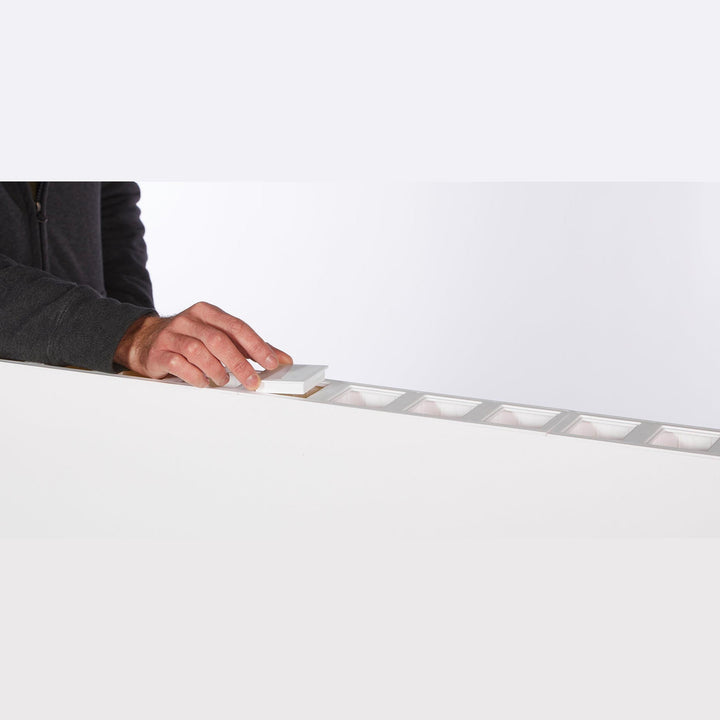
To give your wall a polished, clean appearance, the kit comes with finishing caps to seal off exposed connector holes. Note that for walls taller than 6', finishing caps for the top are not included. Extra caps can be purchased from our Accessories page.
Wall Mounting Bracket
Your kit comes with a wall mounting bracket for attaching to your existing walls. While your wall kit can stand on its own, we always recommend utilizing the mounting feature in case kids, pets, or other unforeseen factors could bump into the wall.
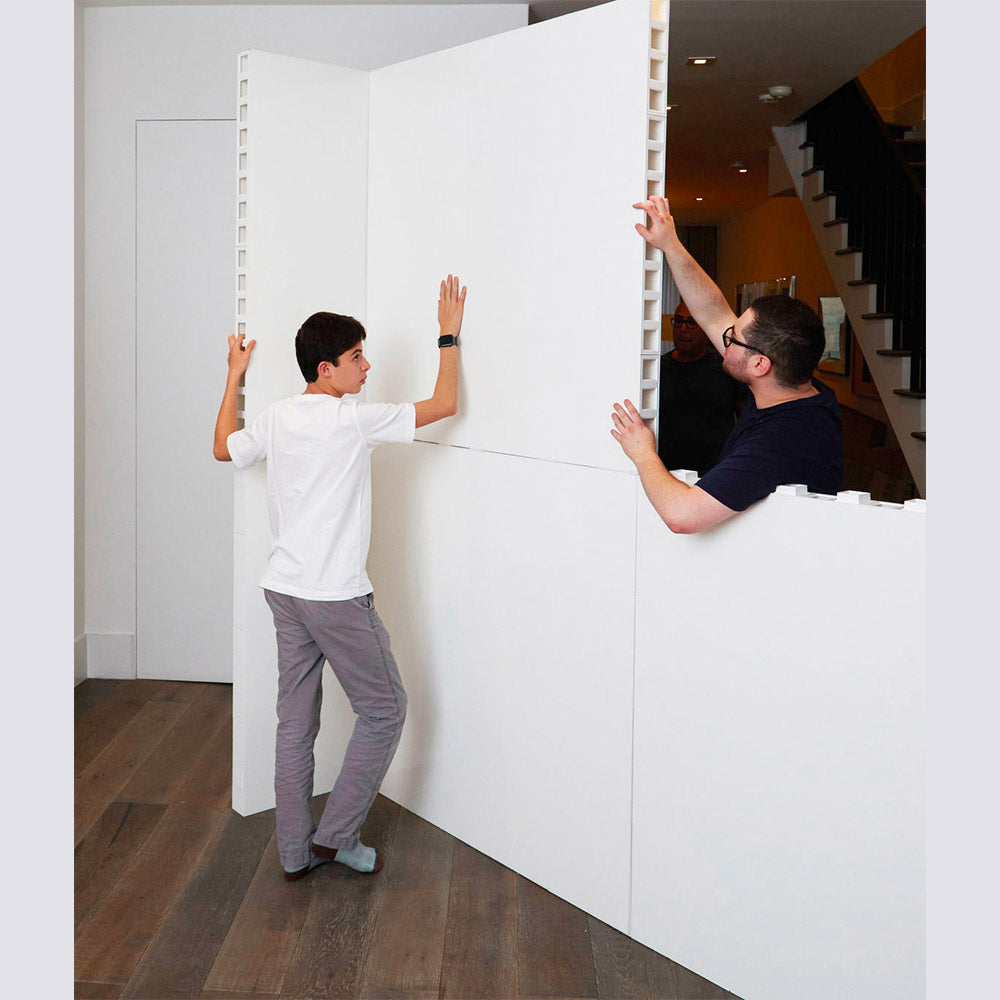
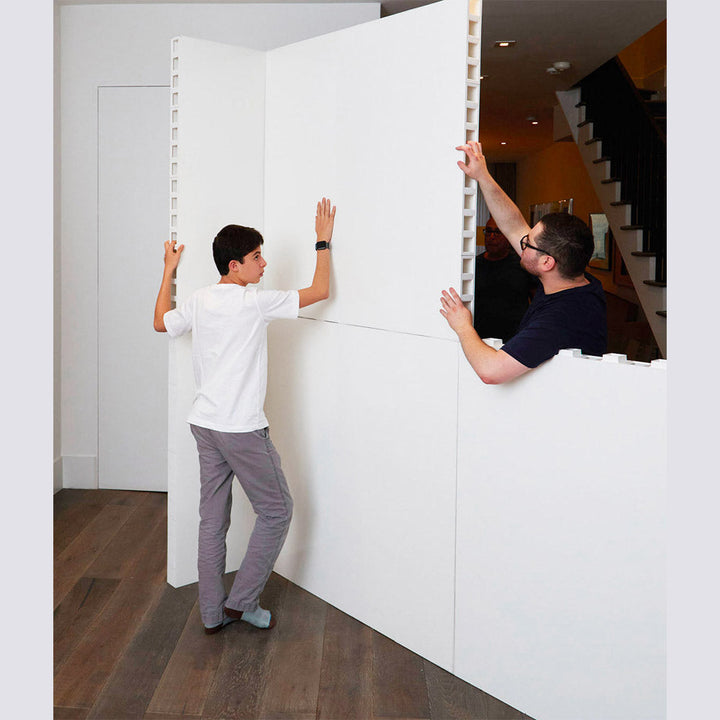
Our modular wall kits are crafted for a seamless DIY experience. On average, a pair can set assemble and install our modular wall kits in under a few hours, with minimal tools.
Having a drill and/or screwdriver on hand is advisable for attaching the accordion doors and anchoring the wall kit to your existing walls.
Assembly Guides
If you can't find the right size or are uncertain about the best fit for your space, reach out to us through live chat, email, or phone.
Our team of product and space design specialists are ready to help you find the right fit.
Shipping
- Modular Wall Kits ship out in 5-9 business days. Delivery usually occurs 2-3 weeks from the date of your order.
- Once your order has been shipped you will receive a tracking link(s), so you can follow the shipment straight to your door.
- The Modular Wall Kits are shipped via palletized freight services, complete with liftgate and curbside delivery. The local delivery partner will typically reach out to you 4-48 hours in advance to schedule a delivery timeframe that works for you. (Accessories for your kits will be delivered separately by regular parcel - see below)
- The delivery partner will lower your order on the pallets at the curb of your address and request a signature for the delivery. Bringing the panels indoors is your responsibility, as well as discarding of any packing materials, including the pallet(s).
- Accessories for your Modular Wall Kits and cubicles (doors, desks, connectors, etc.) will be delivered as regular parcels, and will not require any signature.
Returns
⚠️ Important Update – Return Policy for Certain Products: Due to ongoing cross-border tariff issues, returns are temporarily unavailable for select products that ship from the U.S. If you’re unsure whether this applies to your order, please contact us before purchasing. We’ll be happy to clarify.
- We offer cancellations free of charge within 24 hours after placing your order. This is your window to make changes or cancel your order entirely. After this 24-hour period, a 20% restocking fee based on your total purchase amount will apply. If your order has already been shipped you will also be responsible for round-trip freight charges.
- For returns, we accept undamaged and unused products within 10 days of delivery. The return process will incur a 20% restocking fee and round-trip shipping costs. Once we have received and inspected the returned item, a refund will be processed to your original payment method.
The following items are considered final sale and are not eligible for return or exchanges:
- 1x1 Sample Panels
- Peel and Stick Wallpapers
- Add-On Accessories
What is the difference between “Freestanding” and “Mounted” room dividers?
Freestanding Room Dividers are designed to stand independently, without needing any attachment to your existing walls. They can be moved easily and leave no marks behind. Anchor panels on each end ensure stability.
Mounted Room Dividers attach directly to your existing walls using mounting brackets and a few screws, providing maximum stability for more permanent setups.
Can the L-shaped or F-shaped room dividers be configured in any direction?
Yes, our L-shaped and F-shaped room dividers are flexible and can be connected in any direction, allowing you to easily adapt them to your space.
Can the doors on the room dividers be locked?
Yes, the swing doors on our room dividers come with a lock and key. Accordion doors do not include locks, but many customers add their own hasp locks for additional security.
Can I hang pictures or shelves on the room dividers?
Absolutely. Our room divider panels are strong enough to support hanging pictures, paintings, and even decorative shelves. You can drill into the panels to install mounting screws or use wire loops around lugs at the top. Just avoid hanging heavy or far-protruding items that could cause an imbalance.
Can I choose the placement of the door on the room divider?
Doors are typically placed in the most cost-effective position. If you have a specific location in mind, let us know, and we’ll check if it’s possible with your dimensions. Note that doors need at least 1 foot of wall panel on each side.
Do you offer financing for room dividers?
Yes, we partner with RBC PayPlan to offer financing options for your room dividers. You can find more details and apply by visiting our Financing page.
How does mounting work for mounted room dividers?
Mounted room dividers come with 4-foot wall mounting channels that are securely attached to your existing walls and the ends of our panels using a few screws. This ensures a stable and sturdy installation.
More FAQs
For additional FAQs, visit our full FAQ page. We also recommend checking out our Reviews, where many customers share answers to common room divider questions based on their experiences.
FREE SHIPPING ON ALL ORDERS
Assembly Video
Shopping for a bigger space?
Take advantage of our free space design consulting for office renovations and large-scale projects. Get in touch.
White-glove installation service available
How it works
THE PANELS
The wall panels consist of two fibreglass layers, supported by a unique interior frame system, resulting in a design that's both lightweight and structurally robust.
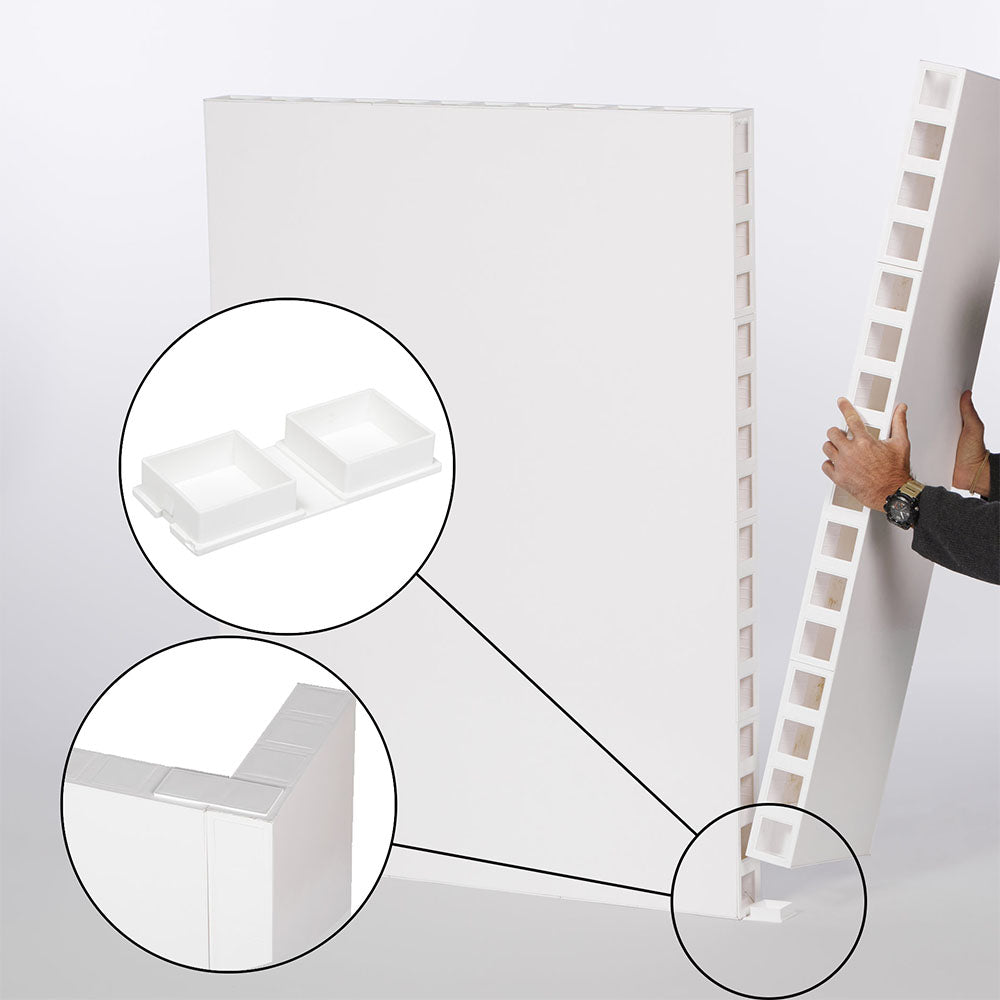
PANEL CONNECTORS
Two-Way Connectors enable secure attachment of panels at both the top and bottom of each frame, ensuring an ultra-tight fit.
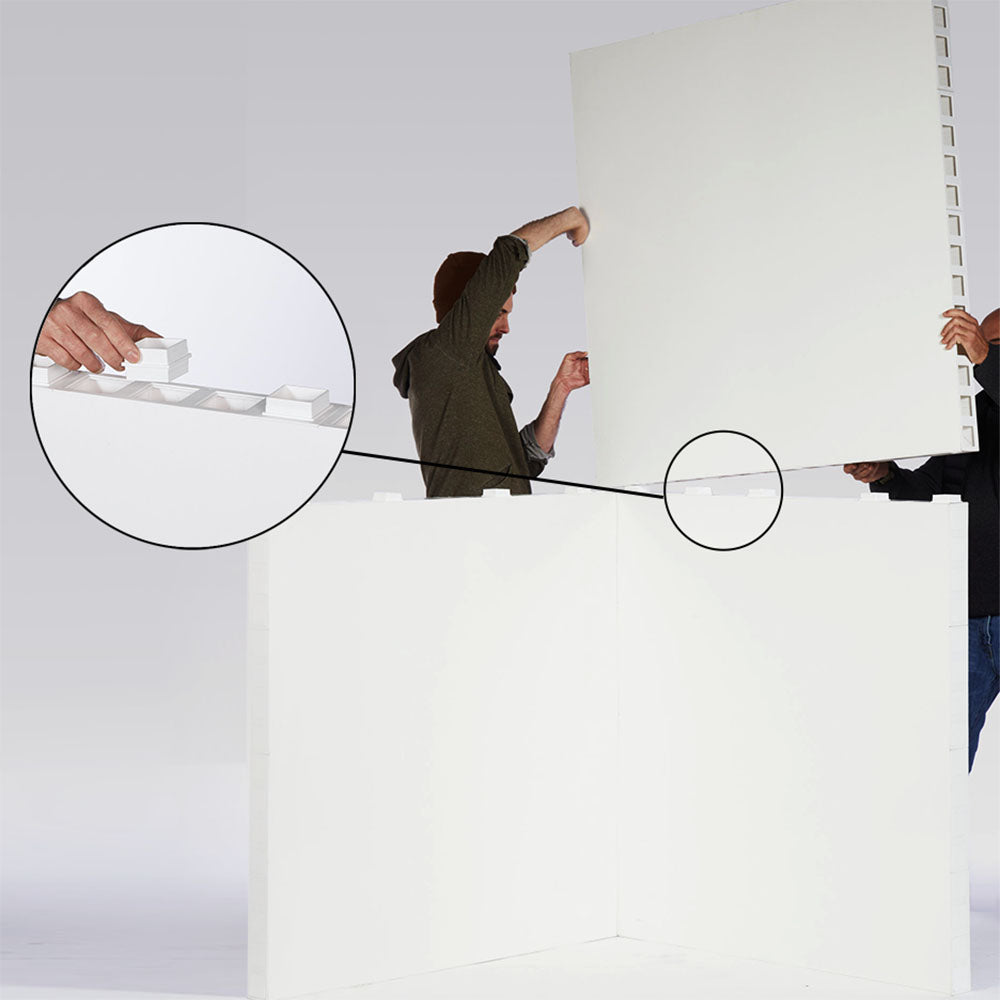
VERTICAL STACKING
Patented Lug Connectors facilitate the easy, safe, and secure vertical stacking of panels. Simply push the connectors into place to attach the panels vertically.
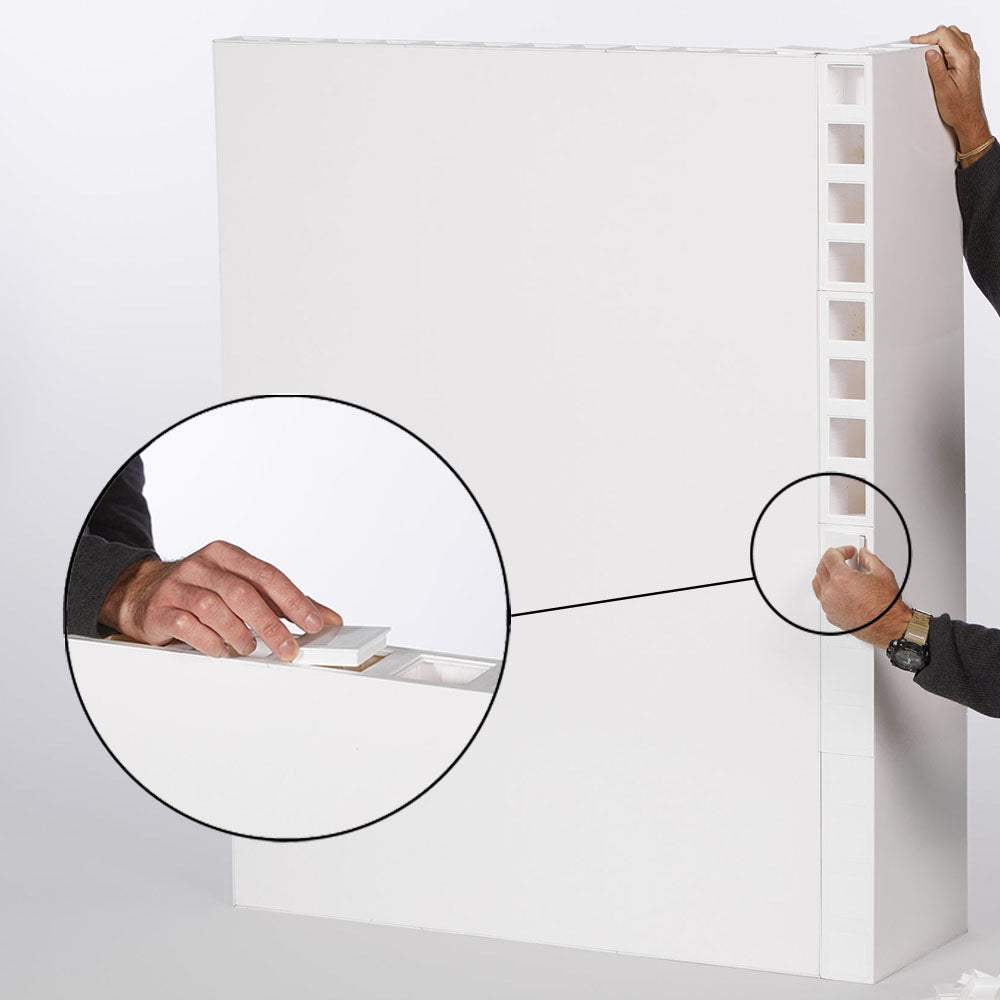
FINISH THE LOOK
Finishing Caps easily snap into receiver holes on all sides of each panel, sealing the holes and ensuring a sleek, finished appearance.
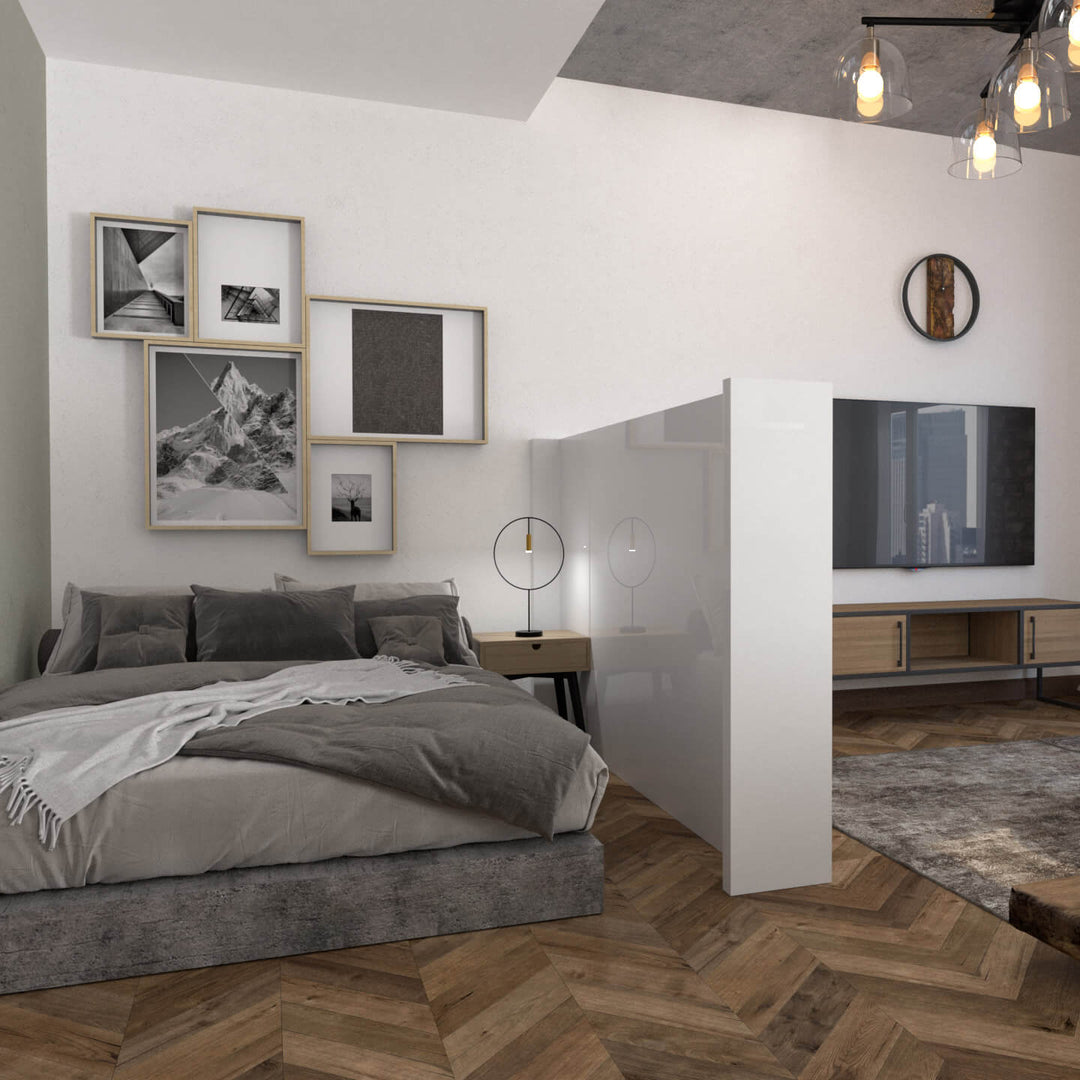
ANCHOR PANELS
Anchor panels are attached perpendicularly to the ends of your wall in T or L connections. 12" deep for shorter walls to 24" for longer walls, ensuring maximum stability.
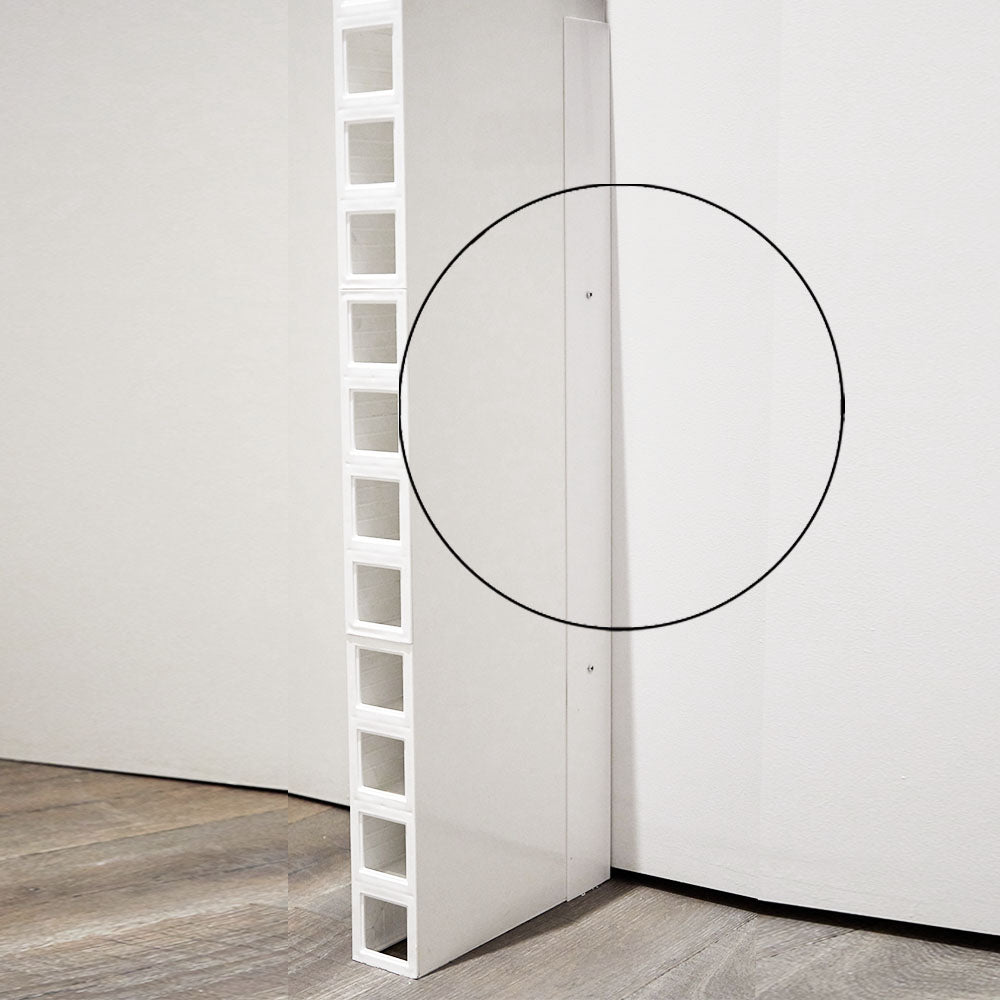
MOUNTING
Attach the Wall Mounting Bracket to your existing wall. Then nest the panel inside the 'L' shape of the bracket, and screw the channel directly into the wall panel.
Installation video
